
Simple MFA with OTP for Kubernetes Applications

The Problem
One of the greatest advantages of running containerised applications under Kubernetes is that it's very easy to just spin up applications from places such as docker hub almost at will. Therein lies the problem. Whether the application is exposed internally or externally, it will typically require some form of authentication and authorisation. Most native modern applications have this facility built in, even if in a most basic form of username/password....but what if this is not enough? What of you require multi factor authentication (MFA) . We've all seen the rise of the one time password (OTP) using apps such as Google Authentication or Authy, and these provide a very secure method of blocking out risk vectors such as dictionary attacks or password theft. However if the app doesn't natively support this, how do you then implement it?
Luckily there is a very easy, free and quick way to do it, using an application called Authentik and the native k8s ingress controller.
Authentik
Authentik is an open source project similar to Auth0 that can filter and process many different forms of authentication requirements. It can be installed as either:
- Kubernetes Native (via helm chart)
- External docker host
For my example setup I describe below I have used a docker setup, simply to remove it from my main Kubernetes platform, as it wouldn't do to have the very platform needed to run the authentication, also running the applications that rely upon that authentication...just in case it went down. For this reason, in a production environment, you would probably run a separate management cluster with Authentik on it so that it has HA, but separate from the production.
Authentik allows you to craft custom authentication flows, different providers (methods of authentication) and custom responses per application...meaning no matter what your end requirements you can secure your application. The basic premise is that Authentik acts as either a proxy, sitting between the user and the application, or as an external authentication provider...all depending upon what your application requires.
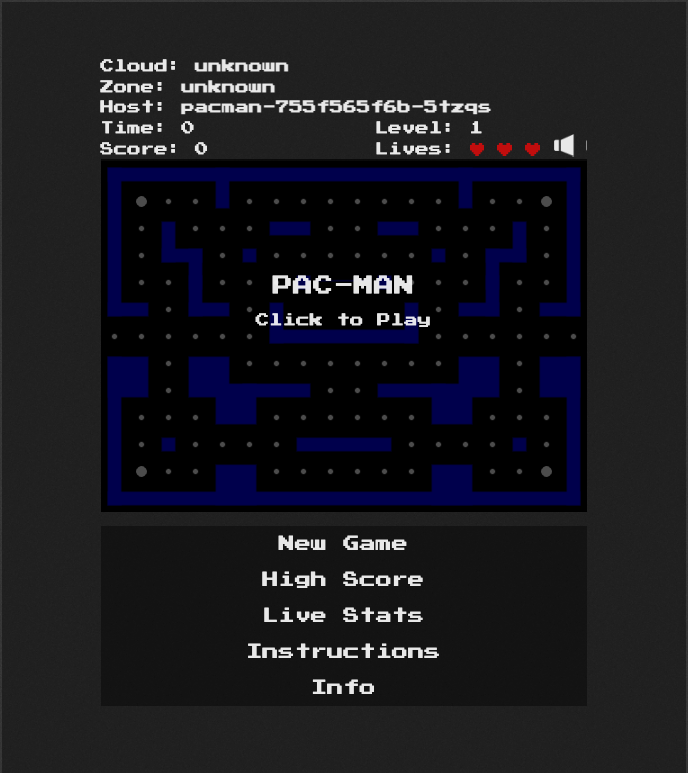
For my example we will just use a basic web app as the application we want to protect...PACMAN.
Installation
Docker
In the docker installation, Authentik have provided the docker compose for you, so all you need to do is pull it from their website, create some basic passwords into an .env file and then start the container:
wget https://goauthentik.io/docker-compose.yml
echo "PG_PASS=$(openssl rand -base64 36)" >> .env
echo "AUTHENTIK_SECRET_KEY=$(openssl rand -base64 36)" >> .env
Once this is done bring up the stack with the following command:
docker-compose up -d
Kubernetes
The Kubernetes install is done via helm, although the values chart needs to be adjusted prior to deployment. I will already assume you have HELM installed. Firstly create the values.yaml file:
authentik:
    secret_key: "PleaseGenerateASecureKey"
    # This sends anonymous usage-data, stack traces on errors and
    # performance data to sentry.io, and is fully opt-in
    error_reporting:
        enabled: true
    postgresql:
        password: "ThisIsNotASecurePassword"

server:
    ingress:
        # Specify kubernetes ingress controller class name
        ingressClassName: nginx | traefik | kong
        enabled: true
        hosts:
            - authentik.domain.tld

postgresql:
    enabled: true
    auth:
        password: "ThisIsNotASecurePassword"
redis:
You can use the following commands to generate the replacement random passwords and seeds:
pwgen -s 50 1
openssl rand -base64 36
Then create a namespace, add the helm repo and deploy the chart:
kubectl create ns authentik
helm repo add authentik https://charts.goauthentik.io
helm repo update
helm upgrade --install authentik authentik/authentik -f values.yaml -n authentik
You will note the need to specify in the values.yaml the ingress controller type and URI for the application (FQDN). If you are using RedHat OpenShift, which uses routes, simple remove the line ingressClassName and it will automatically transpose the ingress request into a route.
Configuration
At this point the application is deployed and can be accessed via:
https://<ingress-host-name>/if/flow/initial-setup/
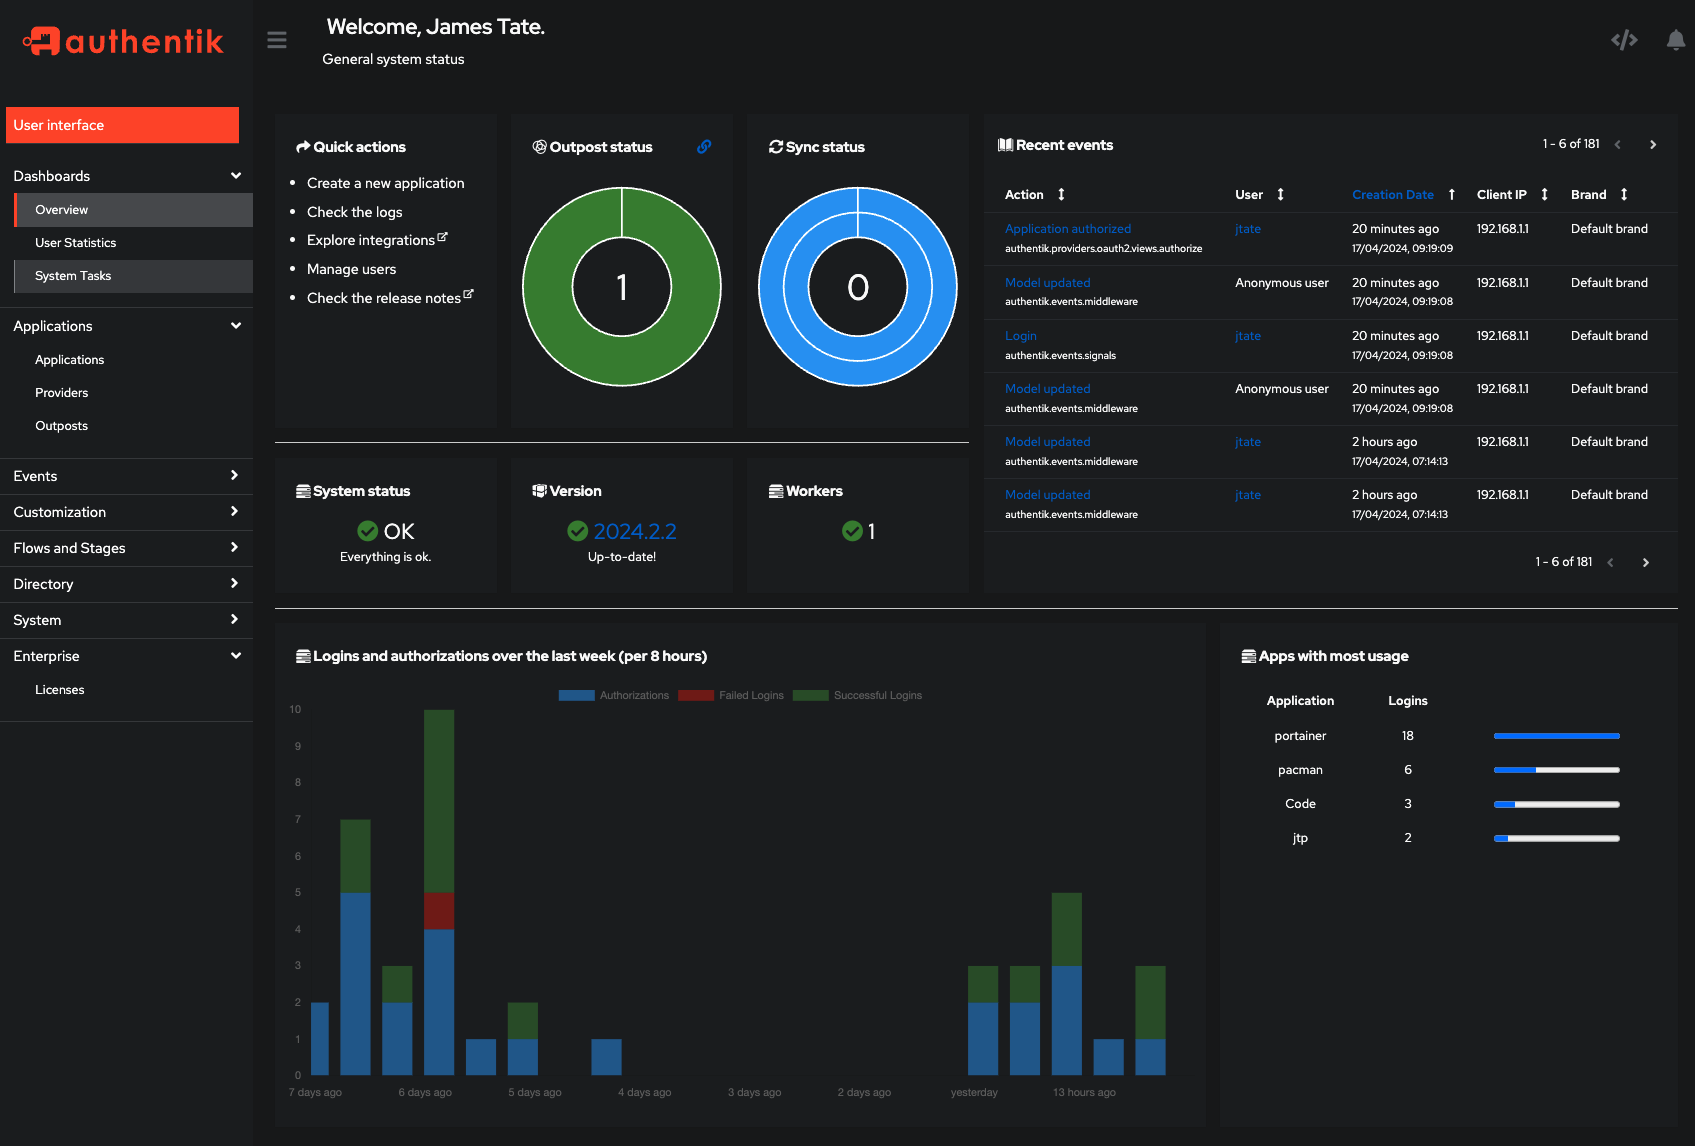
This exact URL is needed upon 1st access otherwise you will not have a user to access the system. It will guide you through setting a password for the main admin account. Once you log in, proceed to the admin interface:

Setup of Authentik is done in three ways..
- Authentication methods - Standard methods or custom
- Providers - What method we are using to do the authentication and flow
- Applications - How the individual applications bind to the providers
There is a mapping between all three.
For our example of pacman I've got the application installed in OpenShift and exposed via a route on a public domain name pacman.kodu.uk. This is mapped to the internet via an NGINX reverse proxy, so all my subdomains come in through port 80 & 443 and are redirected by nginx. In the case of pacman this passes it onto the ingress controller of OpenShift, where the URI is inspected and then the request is forwarded to the correct service in the pacman namespace. What we will be doing here is adjusting this flow slightly:
DNS -> Nginx-> Authentik -> Ingress -> Pacman Service
Essentially Authentik will act as another transparent proxy, except this time it will provide the MFA upon 1st session access. Right lets get to it!!!
First lets create the Provider:
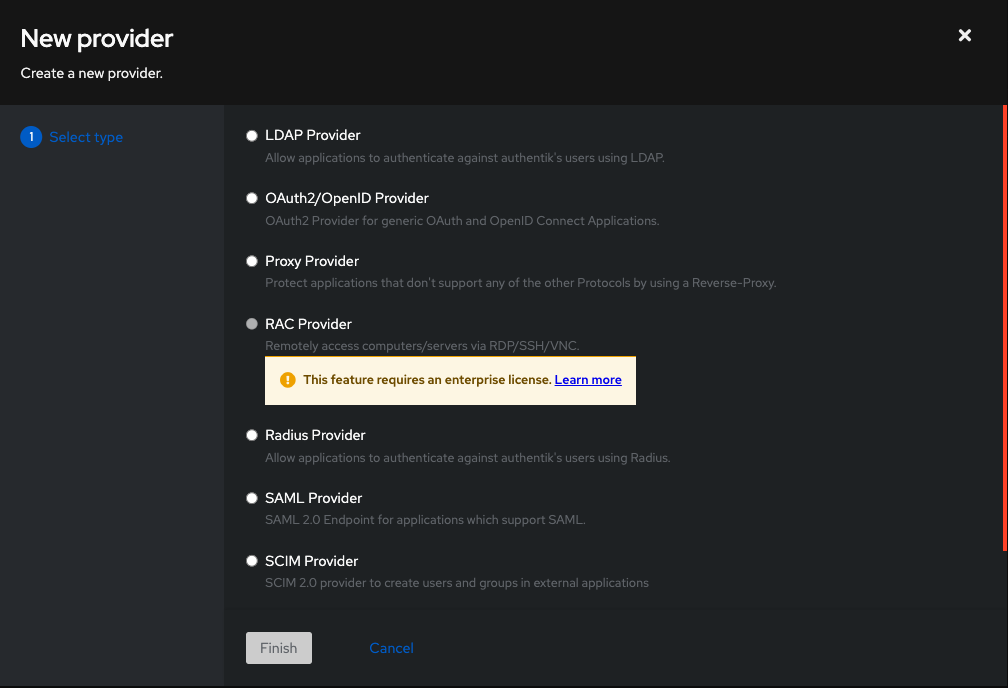
As you can see there are many types to choose from, most of this choice will depend upon what the end application supports, but as we are trying to protect a simple web app, we will use the proxy provider. We configure it as follows:
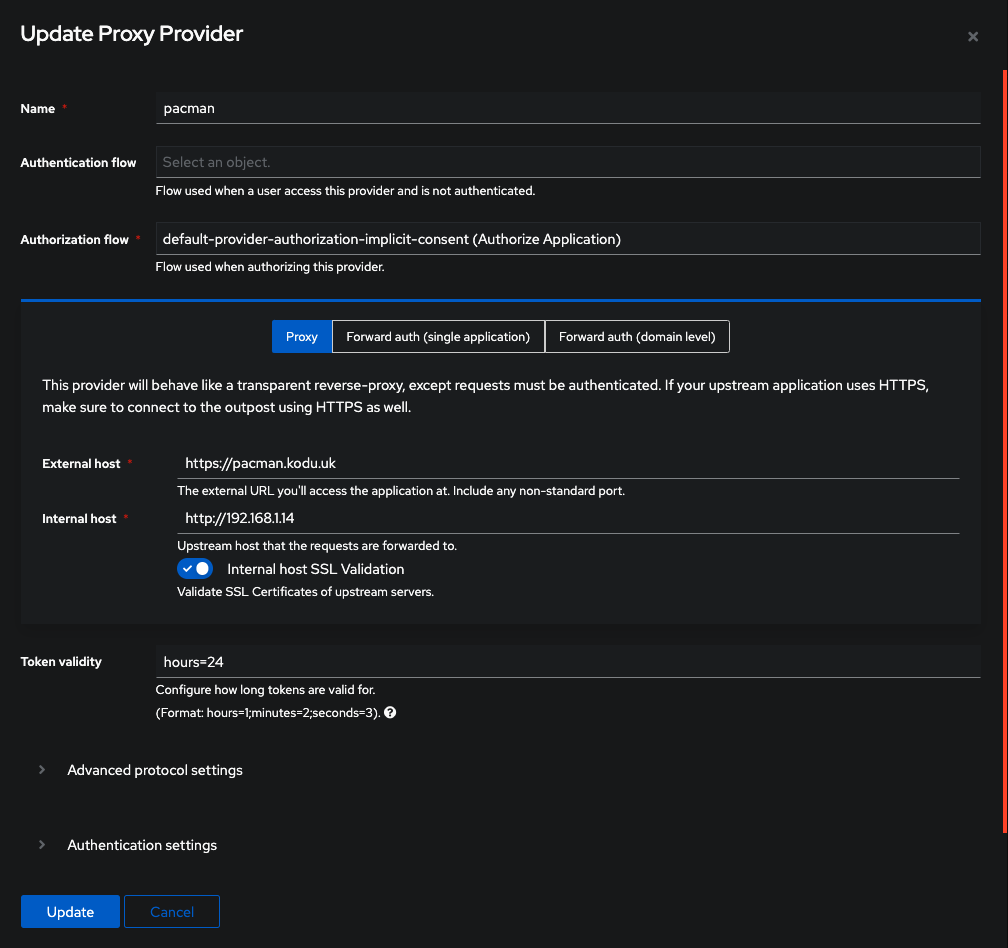
This is where the external host is the URI request you will be accessing the application via, and the internal host is the IP address of your ingress controller. You can also adjust the token validity timeout here, basically how long you want the authentication session to last for each browser session. The click create. You will notice on the provider list it states your provider doesn't have an application mapped to it...we will fix that next.
Create a new application:
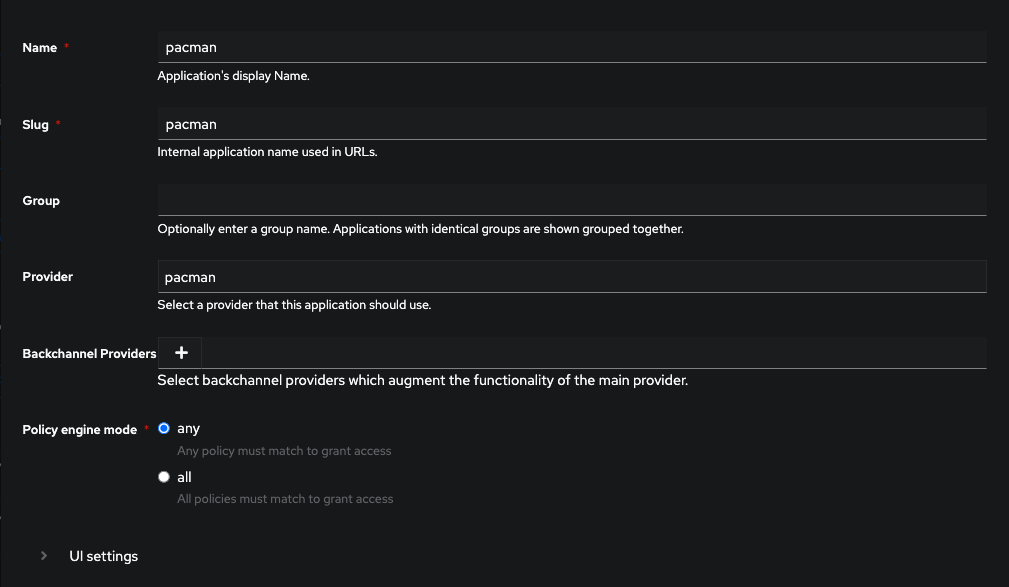
Make sure the application name and slug are identical (makes it easier to track down issues) and select the provider you created in the step before. This will map the application to the provider.
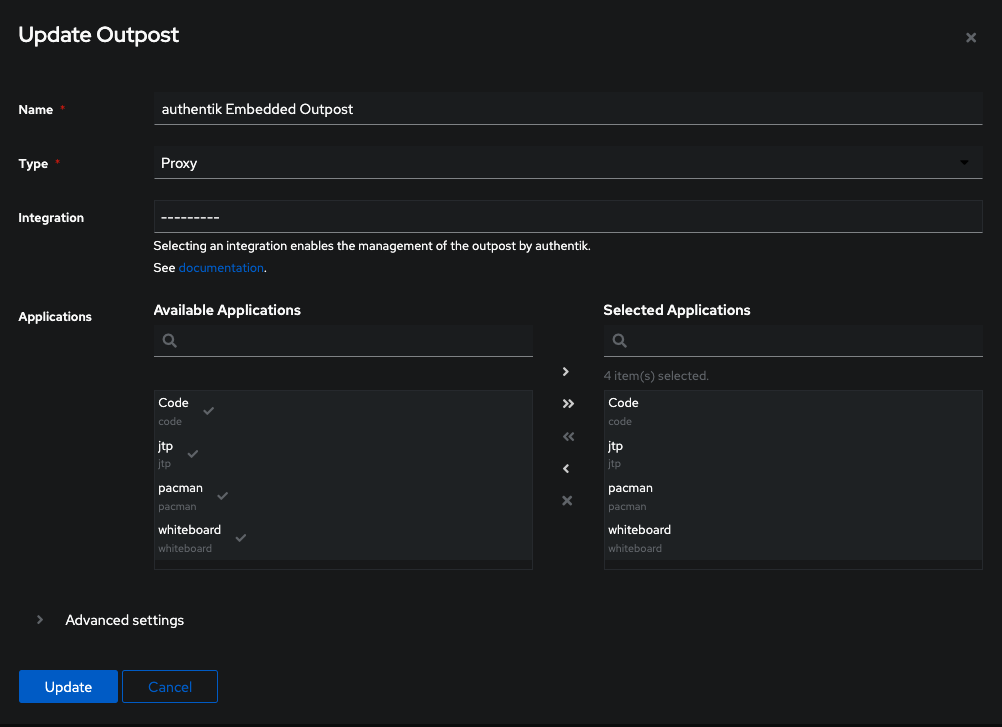
Lastly we need to add the application to the outpost. The outpost is the default proxy that Authentik uses to intercept requests and forward to the providers.

Click on the edit button and add your application to the list of Selected Applications, then hit update.
We have now completed all the configuration in Authentik. The only thing that is left to be done is remapping the DNS.
DNS
By default your DNS record would point to the IP address of the service, in this instance my pacman.kodu.uk would point to the ingress controller IP, however we will instead redirect it to the IP address for the Authentik instance. This is where it becomes a bit confusing and the two methods (docker and k8s) differ. If we are using docker, by default the authentication port is 9002..on k8s it's standard ingress (port 80). If we require docker and do not want a reverse proxy in front (needed to proxy port 80 requests to port 9002), we can use additional variables in the docker compose .env file to accomplish this:
COMPOSE_PORT_HTTP=80
COMPOSE_PORT_HTTPS=443
Assuming we have the correct mapping done when you visit your application you should see the Authentication dialogue. You should do this from another browser, otherwise it will use the token you already have in place from your admin session...and we want to see the request being intercepted:
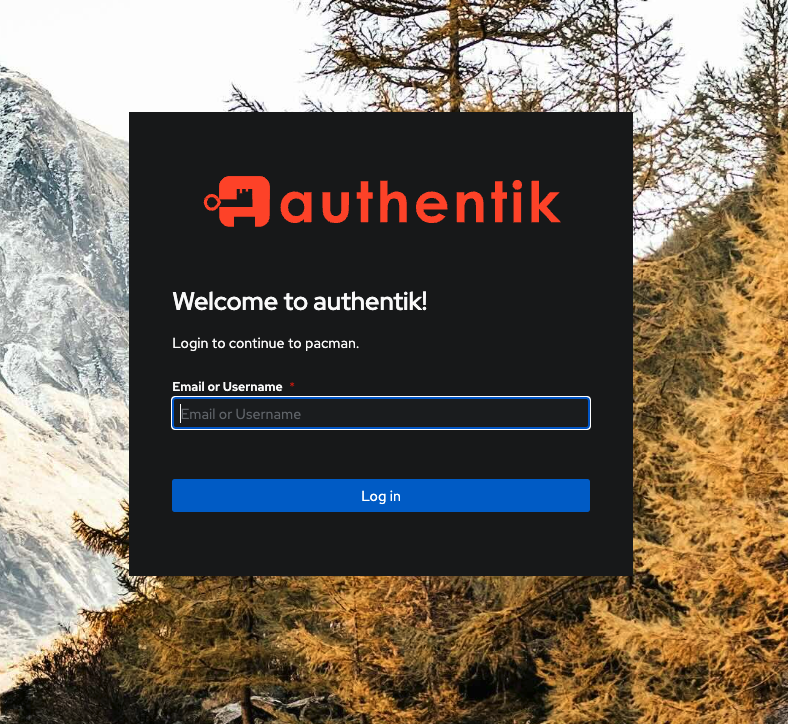
Use you credentials to log in and you should be redirected to your application. Any subsequent requests to this application via the URL will bypass the authentication until the access token expires, then you will be re-prompted again. If you clear the cookies it will ask for authentication again.
MFA
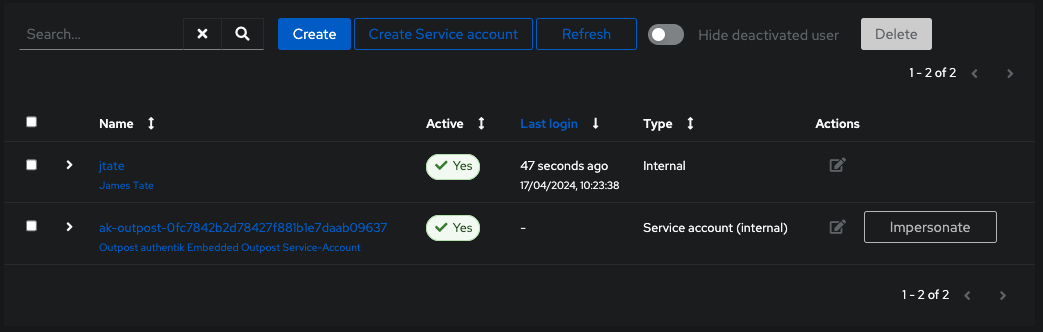
Ok...now we want to add users and enable MFA (don't add MFA for the admin superuser unless you really keep that token safe and the recovery tokens!!!!) We can add new users in the Directory:

Add a new user:
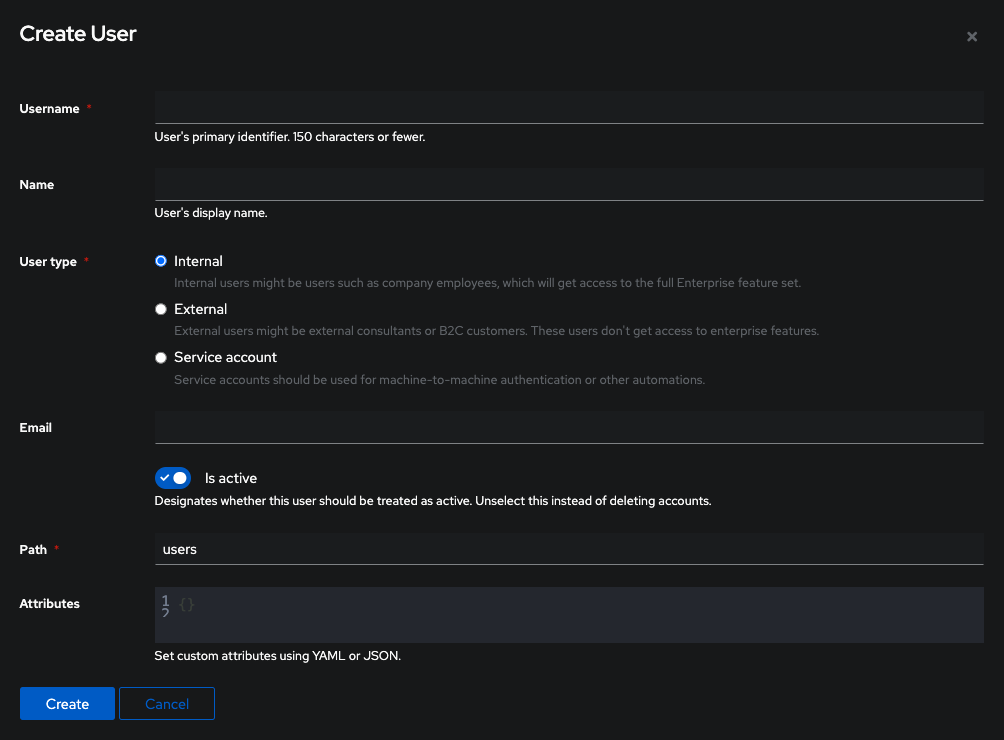
Keep the type as internal and fill out all username, name and email details.
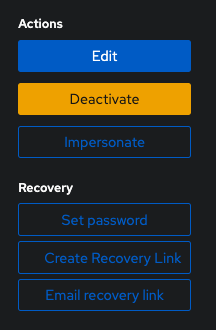
Lastly once the user is created click on their name to bring up their account:
You MUST set a temp password for them to be able to login.
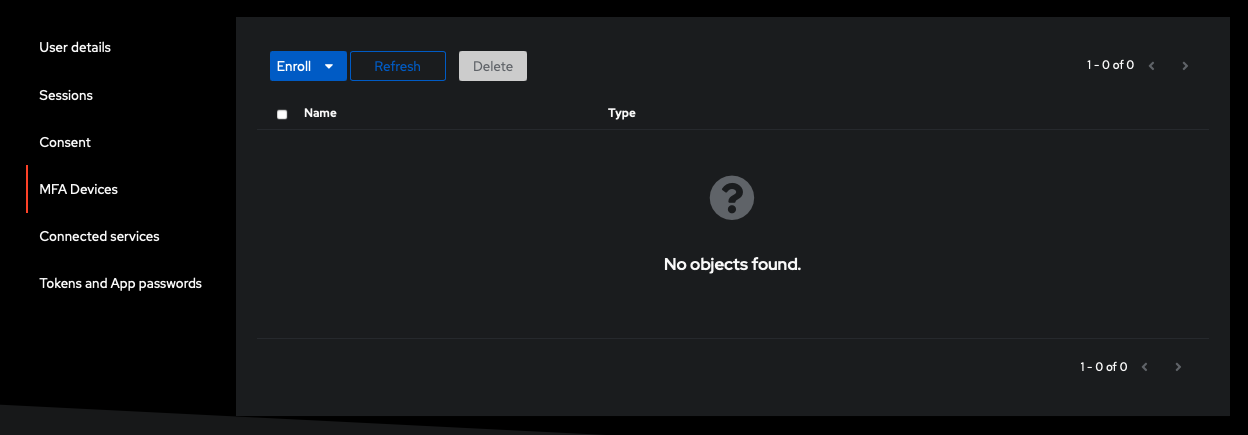
The end user then can login into the authentication URL (for example authentik.kodu.uk) using their email address and temp password. Once in they can go to their account settings via the cog on the top right:
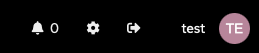
They can then enrol an MFA application in the standard fashion....
Conclusions
I haven't played with the full feature set, especially the external integration for user accounts etc, linking it to MSFT Active Directory or LDAP for auto account creation, password syncing etc, or forcing new accounts to auto register for MFA... but such things are possible I'm lead to believe. Authentik is not complicated to use and is quite powerful for what it is. For full enterprise "bells and whistles" other providers might be more appropriate, but for smaller enterprises or SMB companies, it does provide a simple, cost effective method of locking down what would be otherwise unsecured applications, especially when that MFA device is a corp controlled phone.
Whilst this guide is not exhaustive, I hope it gives a view into how to increase your application security in an easy fashion. No system is perfect, but by combining MFA with strong and complex passwords you can lock out all but the most professional hackers.